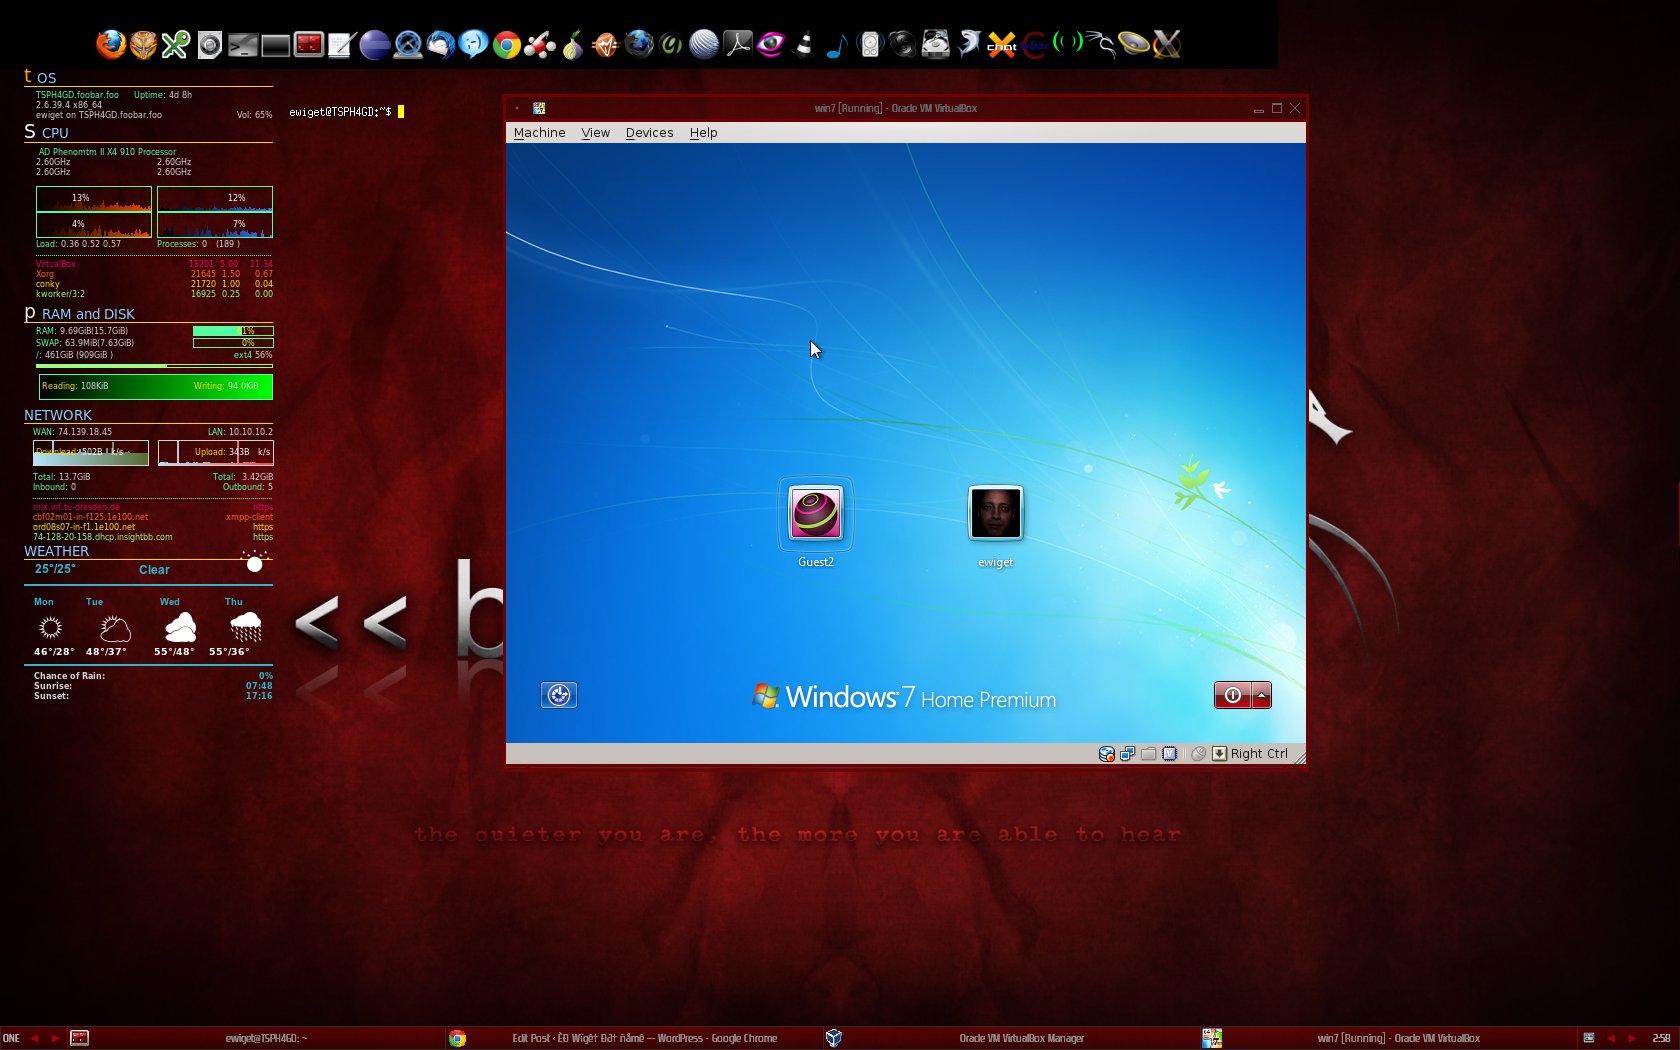
So, I use linux exclusively….for everything except my photography post-processing. I don’t care about the rants and raves people give me about gimp, my workflow has included photoshop since Photoshop v3.0 (like mid-1990’s), and its just too hard to switch…..so I keep one windows machine around just to do photoshop tasks.
Now that I have my fluxbox bliss on my 16GB Quad-core machine dual booting with the factory Windows 7….I thought it would be nice to be able to run windows 7 inside of Linux. In the past, I always did the “virtualbox from new installation”. Its kind of a pain in the ass and a huge waste of disk space.
Doing some quick research, I found several articles on booting the physically installed windows in virtualbox and after many trials and errors, I found a simple solution that works.
Here is how I set it up…..
For whatever reason, in linux my system boots with these drives assigned like this:
[codesyntax lang=”bash”]
/dev/sda – external 1TB USB3 disk
/dev/sdb – windows 7 1TB (physical disk /dev/sda – see above)
/dev/sdc – Linux 1 TB
/dev/sdd – external 1TB USB2 disk
/dev/sde – external 500GB usb2 disk
[/codesyntax]
So my Windows drive has three partitions. /dev/sdb1 is the boot partition, about 100mb. /dev/sdb2 is the 900GB windows partition. /dev/sdb4 is a recovery partition created by HP.
Before we go any further, if you have created a user account in backtrack so that you don’t have to run everything as root (which I certainly hope you have), we need to make sure your user is part of the disk and vboxusers groups. This is done like this:
[codesyntax lang=”bash”]
$ sudo usermod -a -G disk,vboxusers <yourusername>
[/codesyntax]
My windows drive as seen by fdisk…..so you can also see where I got the partition numbers below.
[codesyntax lang=”bash”]
$ fdisk -l /dev/sdb

Disk /dev/sdb: 1000.2 GB, 1000204886016 bytes
255 heads, 63 sectors/track, 121601 cylinders
Units = cylinders of 16065 * 512 = 8225280 bytes
Sector size (logical/physical): 512 bytes / 512 bytes
I/O size (minimum/optimal): 512 bytes / 512 bytes
Disk identifier: 0x1549f232

Device Boot Start End Blocks Id System
/dev/sdb1 * 1 13 102400 7 HPFS/NTFS
Partition 1 does not end on cylinder boundary.
/dev/sdb2 13 119992 963724288 7 HPFS/NTFS
/dev/sdb4 119992 121602 12933120 7 HPFS/NTFS
[/codesyntax]
So first we need to create a mbr backup to use with the fake drive.
[codesyntax lang=”bash”]
$ sudo dd if=/dev/sdb of=bootsecc.mbr bs=512 count=1
[/codesyntax]
Next, we create and register a new virtualbox machine that matches our version of installed windows (mine is windows 7, 64 bit)
[codesyntax lang=”bash”]
$ VBoxManage createvm –name win7 –ostype Windows7_64 –register
Virtual machine ‘win7’ is created and registered.
UUID: e62d8ebd-e6ff-40a9-b421-bf4c3610aa4b
Settings file: ‘/home/ewiget/VirtualBox VMs/win7/win7.vbox’
[/codesyntax]
Next, we set up the amount of memory to dedicate to the vm, and some of the hardware properties. It is critical you have acpi on.
[codesyntax lang=”bash”]
$ VBoxManage modifyvm “win7″ –memory 8192 –acpi on –boot1 disk –nic1 nat
[/codesyntax]
Next, we set additional ide controller properties, and it is critical this is et to ICH6.
[codesyntax lang=”bash”]
$ VBoxManage storagectl “win7” –name “IDE Controller” –add ide –controller ICH6
[/codesyntax]
Finally, we create the actual fake disk image that access the physical /dev/sdb drive. Make sure you have the -partitions to match your device.
[codesyntax lang=”bash”]
$ VBoxManage internalcommands createrawvmdk -filename win7j.vmdk -rawdisk /dev/sdb -partitions 1,2,4 -mbr bootsecc.mbr -relative
RAW host disk access VMDK file win7j.vmdk created successfully.
[/codesyntax]
We now add the created fake disk to the virtualbox vm.
[codesyntax lang=”bash”]
$ VBoxManage storageattach win7 –storagectl “IDE Controller” –port 0 –device 0 –type hdd –medium win7j.vmdk
[/codesyntax]

Leave a Reply
You must be logged in to post a comment.